Engineering at MindLink
Getting started with Python and the MindLink API.
July 23, 2018
Today, we’ll have a look at how I started coding in Python to work with the MindLink API.
Although Python is an extremely popular language, we, or at least I, haven’t used too much of it. When we started investigating the capabilities of the Rasa Core platform as part of our larger work around intelligent chat bots, we found out that they have a neat open source API, in Python. The next natural step for us was wanting to leverage the capabilities of the MindLink API (MLAPI for briefness) to provide the bot with voice and ears; while there are ways to use Rasa-Core in a language-agnostic way, we took the chance to dive into a bit of Python programming, beginners level. This post will document how I went from virtually no Python knowledge to writing a simple bot harness that connects to the MLAPI and sends/receives messages, covering the following topics:
- How to setup a basic Python dev environment on a Windows machine.
- How to create an application representing a bot that connects to the API and exposes methods to authenticate, retrieve and send messages.
What we will not cover here is:
- Setup of your MindLink API infrastructure.
- Provisioning of user, agents and channels.
You probably have noticed by now that the assumption is that you have some degree of familiarity with the fundamental concepts of the API - for more information please do visit our comprehensive developer reference wiki, and of some fundamental programming concepts.
Also, in case it wasn’t clear enough from the blob above, I am no python expert - so if you notice anything wrong or that could be done better please do feel free to leave a comment!
By the way, you can find the code we’re writing here and more at our github.
Now, without any further ado:
1 Set up your dev environment
For briefness, the assumption is that we will configure our environment on a Windows machine. Using Linux or OSX will not be too dissimilar.
1.1 Install Python
First thing is to have a local installation of Python. Go to https://www.python.org/downloads/, and download the latest stable version (3.6.5 at the time of writing). Run the installer, and make sure you tick the “add to PATH” option. This will ensure that you can run the Python interpreter, pip, etc. from any folder.
1.2 Install your IDE of choice
While IDEs are like pizza toppings, everyone has their favourites and they are all great (except for pineapple), I have chosen to use Visual Studio Code. It’s what we use for our client side TS/React development, it’s a great editor and a fantastic project. Simply download and run the installer.
1.2.1 Install the Python extension for VS Code
This will allow us to run the debugger from VS Code, set breakpoints, leverage autocompletion and more. Simply launch VS Code, go to the extensions tab (Ctrl-Shift-X) and search for Python, find the ms-python.python extension and install it. Restart VS Code to make the extension load.
1.3 Install Python Requests library
As I am sure you know, MLAPI is a REST api, meaning requests are made using HTTP. While Python has standard libraries that allow for HTTP handling, requests is easy to use, widespread, comes highly recommended and is, according to them,“is the only Non-GMO HTTP library for Python, safe for human consumption.”, whatever that means.
To install requests, simply run “pip install requests” in a cmd/powershell or VSCode terminal window.
We’re now ready to code!
2 Get your details!
Before we start writing code we need to know few details about the MindLink API deployment that we’re going to use.
- The API location URL, i.e. http://mlapi.company.com:X.
- The agent ID for the agent that we will use.
- The username and password for the user backing the agent.
- The ID of a channel(s) that the agent is provisioned upon.
Again, if you are unsure of what any of those terms mean please do refer to our wiki.
We can finally start writing some code! Find some place where you’ll write your files to, open your IDE, create a new file and off we go!
3 Getting a token
First thing we have to do is to get a token. This is done by performing a post request onto the authentication service, specifically on the Authentication/V1/Tokens resource, providing agent ID, username and password as the request’s payload. In our file, let’s define a function “authenticate” that takes in the URL of the service, agent ID, username, password and returns us the token. The function will:
- Build the URL of the service.
- Post the request to the service endpoint, with the necessary payload. As a final note, to make the result easier to handle, we will specify via headers that we want the MLAPI server to return us JSON. This will make data very easy to deserialize, as the requests library has in-built support for JSON.
import requests

def authenticate(self, host, username, password, agent):
    request_url = '{}/Authentication/V1/Tokens'.format(host)

    response = requests.post(request_url, json = {
                'Username': username,
                'Password': password,
                'AgentId': agent
    }, headers = {
        'Accept': 'application/json'
    })

    return response.json()
Let’s analyse what is going on in this code block. The first line imports the requests library that we’ve previously installed on our environment, allowing us to use it in the scope of this file.
We then define a function that takes in the aforementioned parameters. The function begins by building the full URL of our request by appending the static part of the request address (the “/Authentication/V1/Tokens” bit) to the dynamic part (the provided protocol/server/port).
After this, we create and forward a post request. The first parameter is the URL we just created, and then we provide the request payload which is automatically serialized in JSON by the requests library - all we have to do is to match the attributes to the parameters.
The next parameter for our requests is the headers. We specify that we want to accept JSON, which will cause the API server to JSON encode the response data.
Do note that the request is immediately fired once the .post() method is called, hence why we assign its result to the “response” parameter.
Provided that the request was completed succesfully, our response will contain a JSON-encoded API token. To “extract” it, we simply use the .json() method onto the response object.
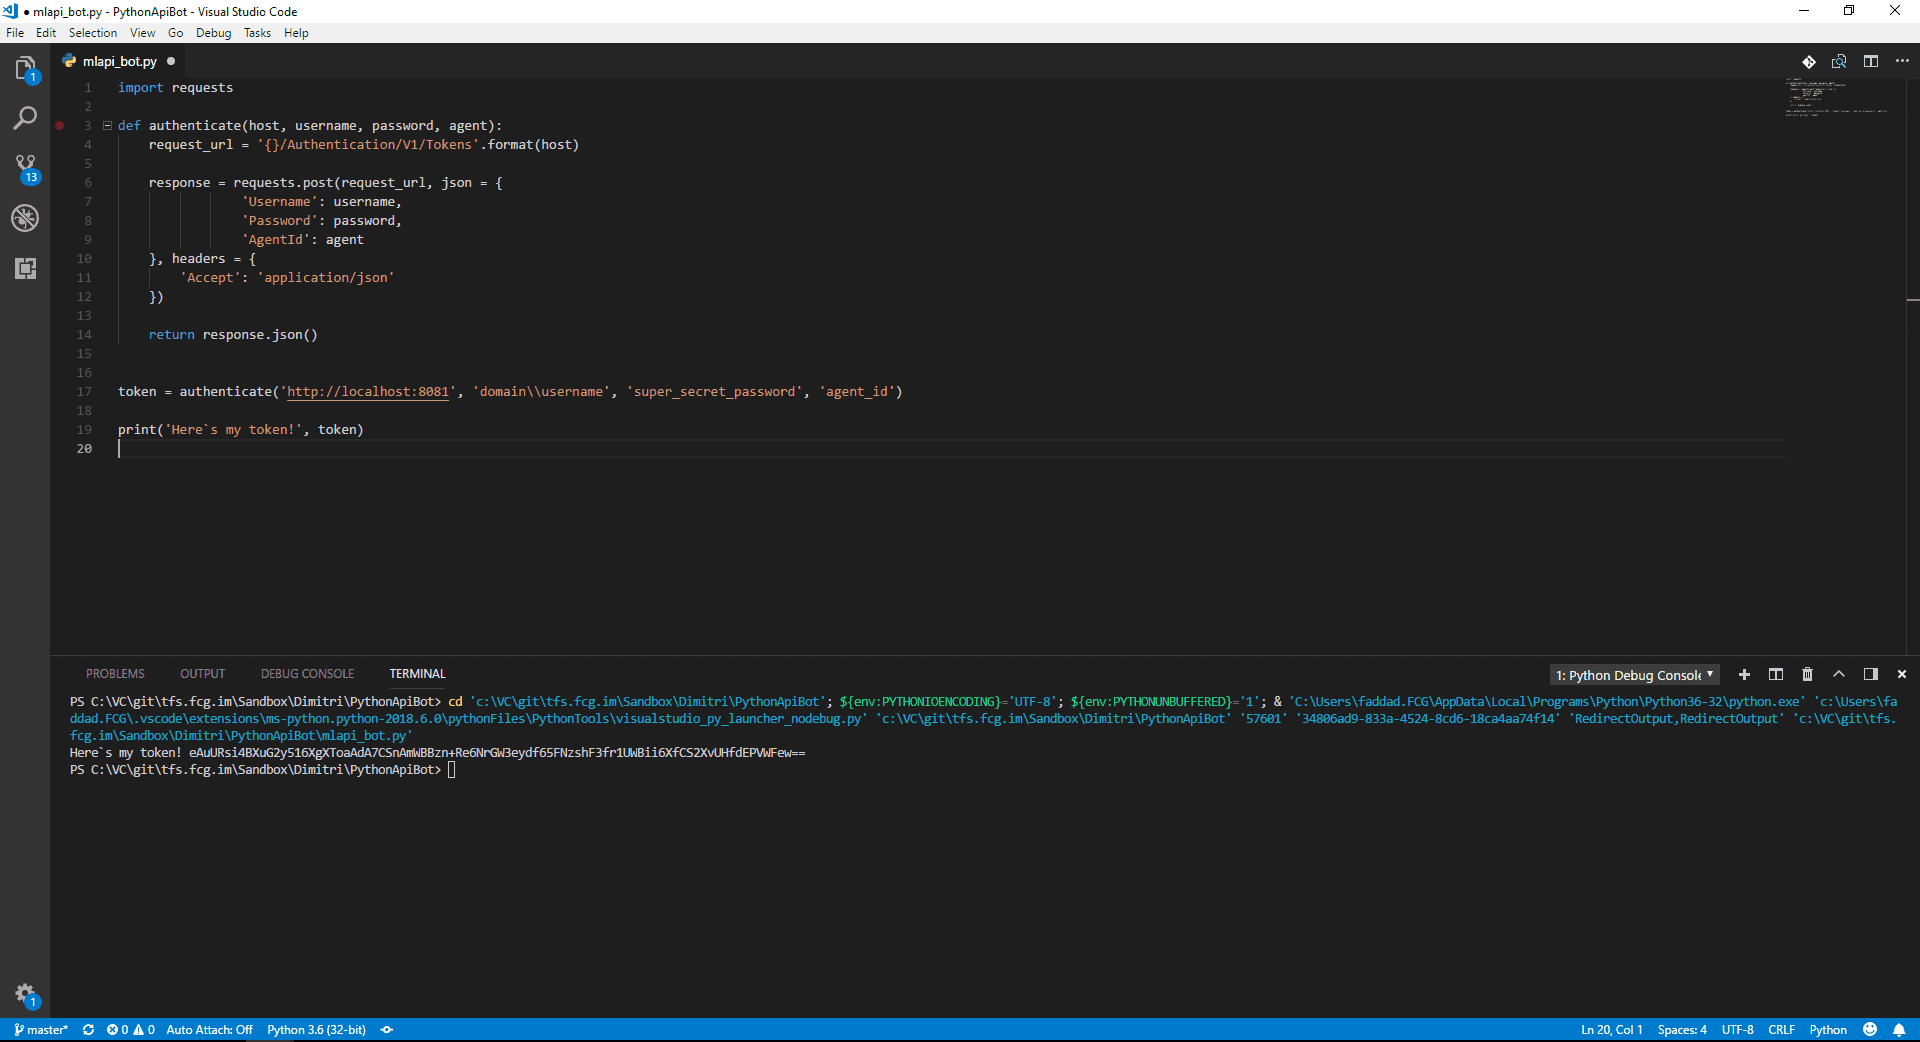
OK, how do we actually use what we just wrote though? Below the previous code block, let’s add:
token = authenticate('http://apiserver.domain.com:8081', 'userdomain\\username', 'password', 'agentId')

print('Here`s my token!', token)
We can now run our program. 2 ways of doing this, either
- open a cmd/powershell/terminal instance in the folder where our file resides and run python my_file.py
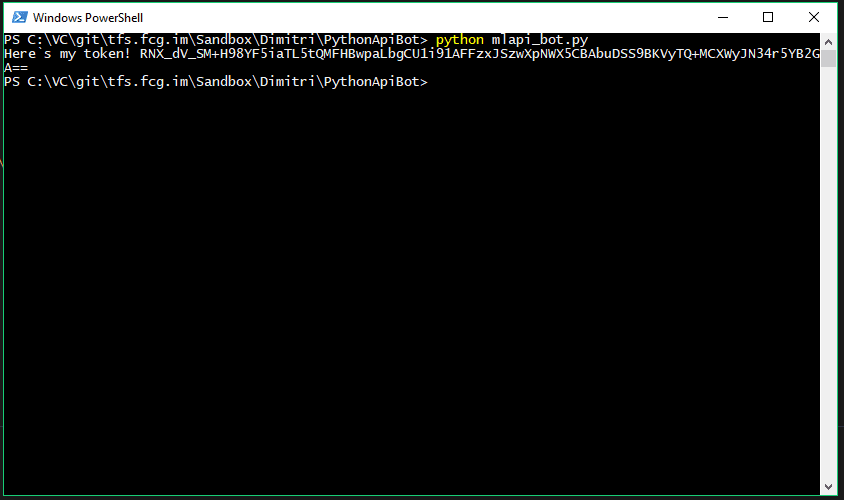
- or by leveraging the Python running and debugging capabilities of our IDE. In VSCode simply go to the debug menu and press “Start (Without) Debugging”. A dropdown menu to choose the running environment will open, and you can safely choose “Python”. In the terminal tab you’ll see the command VSCode actually runs, and hopefully our output.
3.1 Let’s handle some errors
One of the problems with the code we just wrote, is that it deals poorly with errors. It always tries to deserialize the response, which can fail horribly if the request was not successful. So let’s add some error handling/reporting.
Instead of just returning the response.json(), we can add a conditional statement that will try to deserialize and return the token only if the server has given us a 200 response code (OK). We can also take this a step further by making the function print to console the status code and reason of an erroneous response. The second part of our function will now look like:
    if response.status_code == 200:
        return response.json()

    print ('Something went wrong!', response.status_code, response.reason)
If we now run our program, the output will look a lot less scary and more useful, even when something goes wrong!
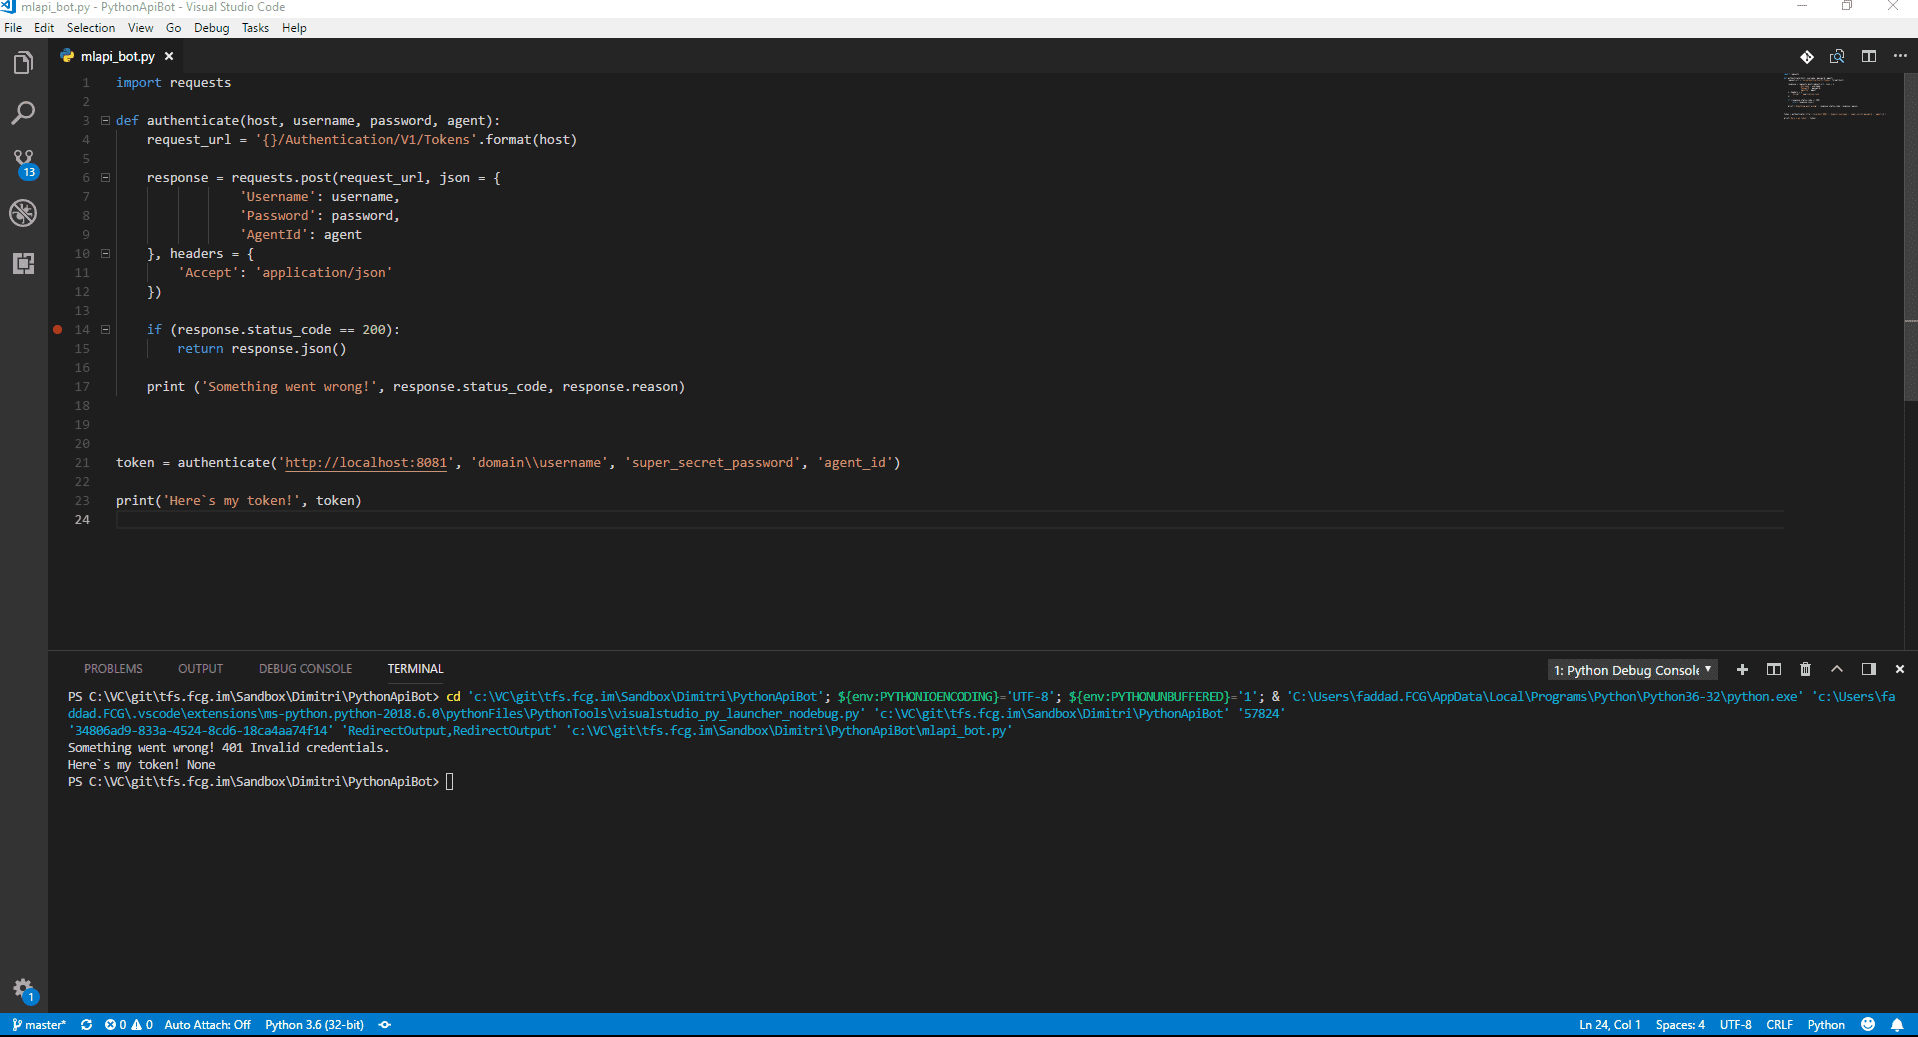
It’s now obvious that the issue here is to do with wrong credentials.
4 Getting messages
Now that we have a token, we can use it to do actual collaboration! Let’s write a function that will retrieve the last X messages from a channel.
In our existing file:
def get_messages(host, token, channel_id, count):
    request_url = '{}/Collaboration/V1/Channels/{}/Messages'.format(host, channel_id)

    response = requests.get(
        request_url,
        params = {
        'take': count,
        },
        headers = {
            'Accept' : 'application/json',
            'Authorization': 'FCF {}'.format(token)
        })

    if response.status_code == 200:
        return response.json()

    print ('Something went wrong!', response.status_code, response.reason)
As you can see, the method is quite similar to the “authenticate” one that we wrote previously; notable differences are:
- The request URL, we now want to access the Collaboration service, and in it the Messages resource of a specific channel, identified by its ID.
- We are using a GET request, not a POST.
- We have to specify a “take” parameter with the number of messages that we want to retrieve.
- We have to provide the token as our authorization header.
We can now update our code to use the new function. As we have to reuse the host, username, password and agent id values, we can store them in variables, i.e.:
host = 'http://localhost:8081'
user_name = 'domain\\user'
password = 'super_secret_password'
agent = 'agent_1'

token = authenticate(host, user_name, password, agent)

print('Here`s my token!', token)

messages = get_messages(host, token, 'chat-room:d343ec64-c867-4edf-9daf-84f25a3c8ed4', 2)

print('here are my messages!', messages)
If we now run the program, the output should look something like:
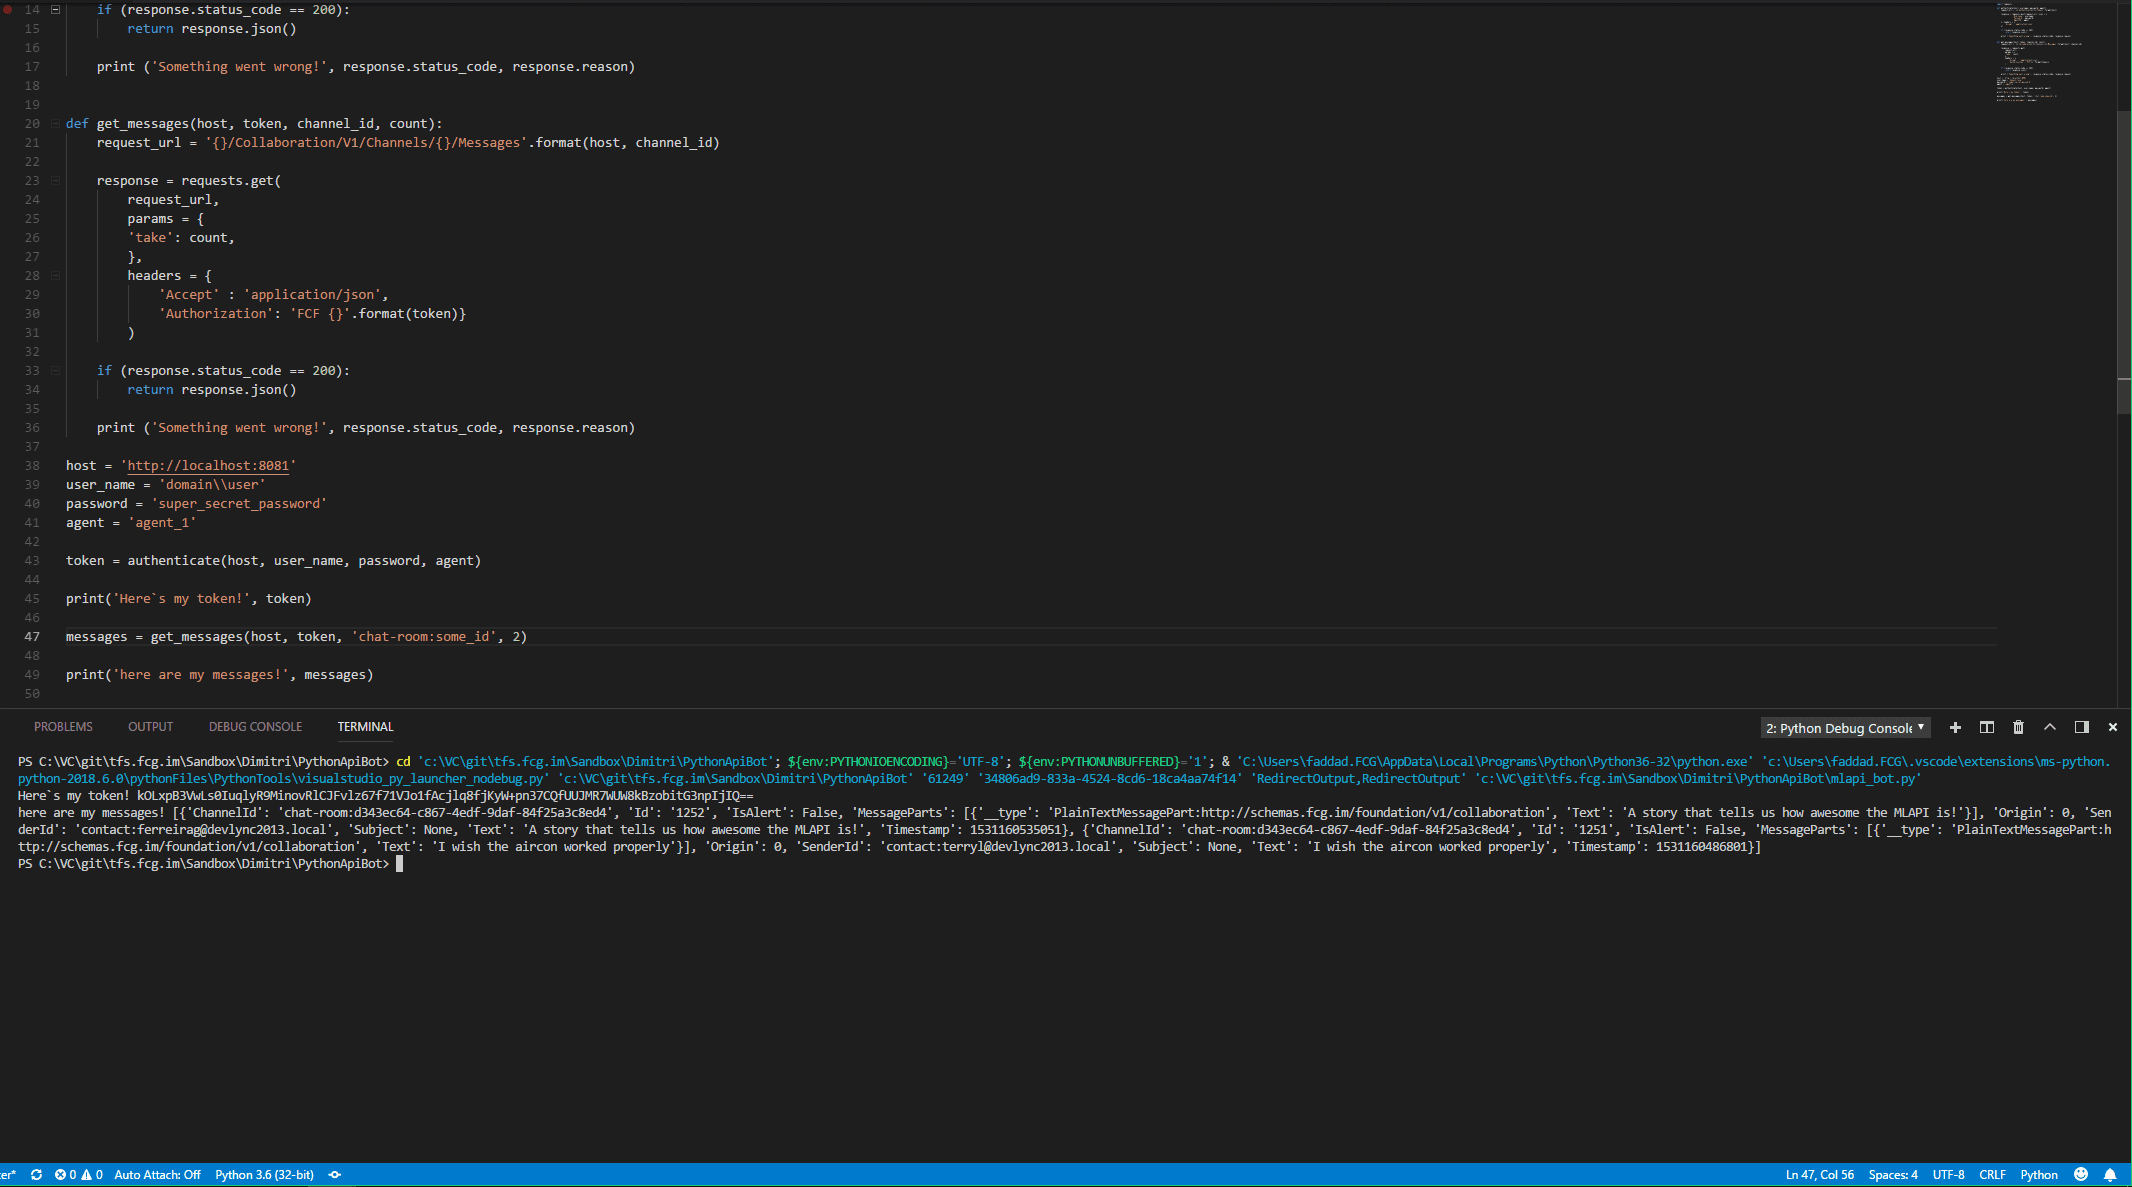
This looks perhaps a bit confusing…time to look at those messages using the debugger. Set a breakpoint on the line where we print the messages, launch the application and inspect the “messages” object.
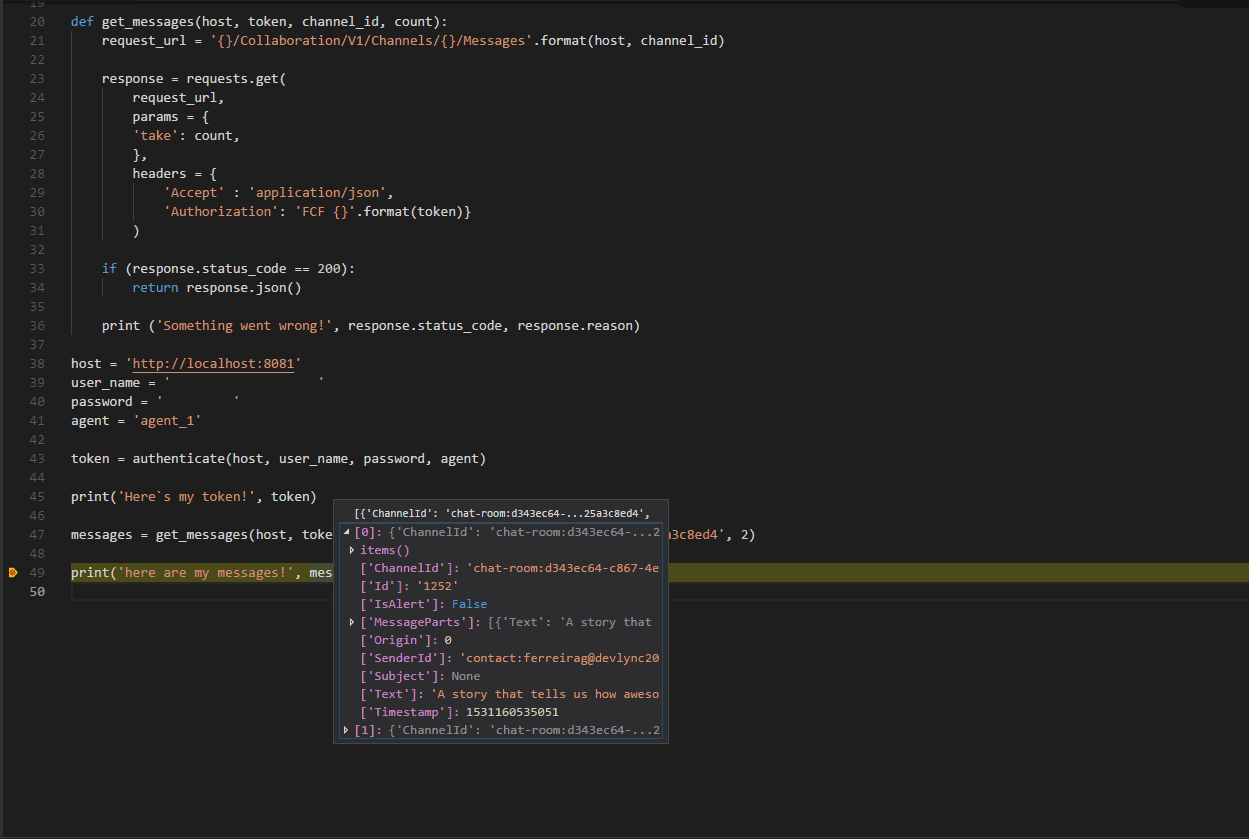
Now it makes a bit more sense. We have an array with 2 messages, and if we expand the first node we can see all the properties of each message object. We can use what we have just learned to prettify the output of our application. We’ll iterate through each message and print some properties. Simply replace the line printing messages for:
for message in messages:
    print('message ID: ', message['Id'], ' Alert? ', message['IsAlert'], ' Sender ', message['SenderId'], ' Text ', message['Text'])
Notice how we’re displaying the text instead of using the message parts. Message parts are a very powerful modelling tool that remove the coupling between what a part of a message looks like and what it represents. They are a more advanced topic though, and we’ll come back to them in another episode.
5 Sending messages
We are now ready to send our first message! To do that:
def send_message(host, token, channel_id, content, is_alert):
    request_url = '{}/Collaboration/V1/Channels/{}/Messages'.format(host, channel_id)

    response = requests.post(
        request_url,
        json = {
            'Text': content,
            'IsAlert': is_alert
        },
        headers = {
            'Accept' : 'application/json',
            'Authorization': 'FCF {}'.format(token)
        })

    if response.status_code != 200:
        print ('Something went wrong!', response.status_code, response.reason)
As you have probably noticed, the method doesn’t look too different from the previous ones; in fact you can probably see a pattern beginning to take shape! Anyway, the way it works is pretty self explanatory; do however note how we use a POST request!
Now, to call him from our application we’ll move the chatroom ID to a variable to the previous block to avoid duplication, and then wel’ll add a call to the method:
# snip
agent = 'agent_1'
chat = 'chat-room:d343ec64-c867-4edf-9daf-84f25a3c8ed4'
# snip

print('sending a message')
send_message(host, token, chat, "hello world", True) #True for alerts, False for regular messages
That easy!
6 Getting events
The final piece of this initial puzzle is how to get events. Events are the mechanism that the MindLink API uses to relay in real time what is happening on channels. Again, for more information check the dedicated section on the Wiki.
The method to get message events looks something like:
def get_events(host, token, channel_id, last_event_id):
    request_url = '{}/Collaboration/V1/Events'.format(host)

    parameters = {
        'last-event': last_event_id,
        'types': ['message'],
        'channels': [channel_id],
        'regex': '',
        'origins': 'remote'
    }

    response = requests.get(
        request_url,
        params = parameters,
        headers = {
            'Accept' : 'application/json',
            'Authorization': 'FCF {}'.format(token)
        })

    if response.status_code != 200:
        print ('Something went wrong while getting events!', response.status_code, response.reason)
        return

    return response.json()
Note how we need to keep track of the last event ID - that can be extracted by simply iterating through the events and comparing their id; this could be done in the get_events function our outside of it. A function to do that could look like:
def get_latest_event_id(events):

    last_event_id = -1

    for event in events:
        event_id = event['EventId']

        if event_id > last_event_id:
            last_event_id = event_id

    return last_event_id
While events can be retrieved individually, the streaming paradigm implies that what we probably want to do is to continuously ask for new requests, i.e. poll. To do that we would need few things: - keep track of the last event ID, so we only ask for newer events - introduce a loop with control - run this event pump in a separate thread, or use asynchronous requests, so that it does not block our bot. To see a sample of that, everything we discussed here and much much more, do check out our sample on our github. The sample introduces a second module that contains all the various API methods that we have seen here in an instantiable class, so that we reduce duplication (no need to provide host and token for each request) and our application logic is less coupled with the API.
7 Wrapping up
Hopefully if you have made it this far you’ll have realised how simple it is to begin writing collaborative tools using the MindLink API, even when starting anew with a programming language as we did here. Naturally we have just begun to scratch the surface of the capabilities of the platform, so stay tuned for more!
Written by Dimitri Fadda.
Trying to figure out how he can be the best foosball player @MindLink whilst losing most games.